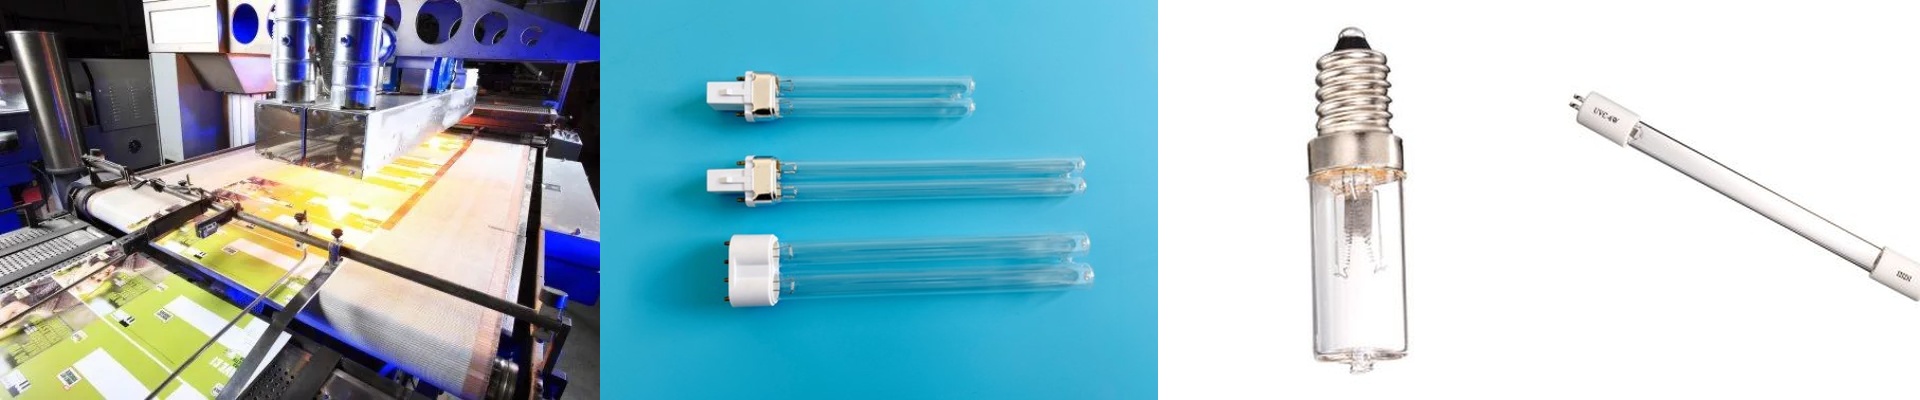
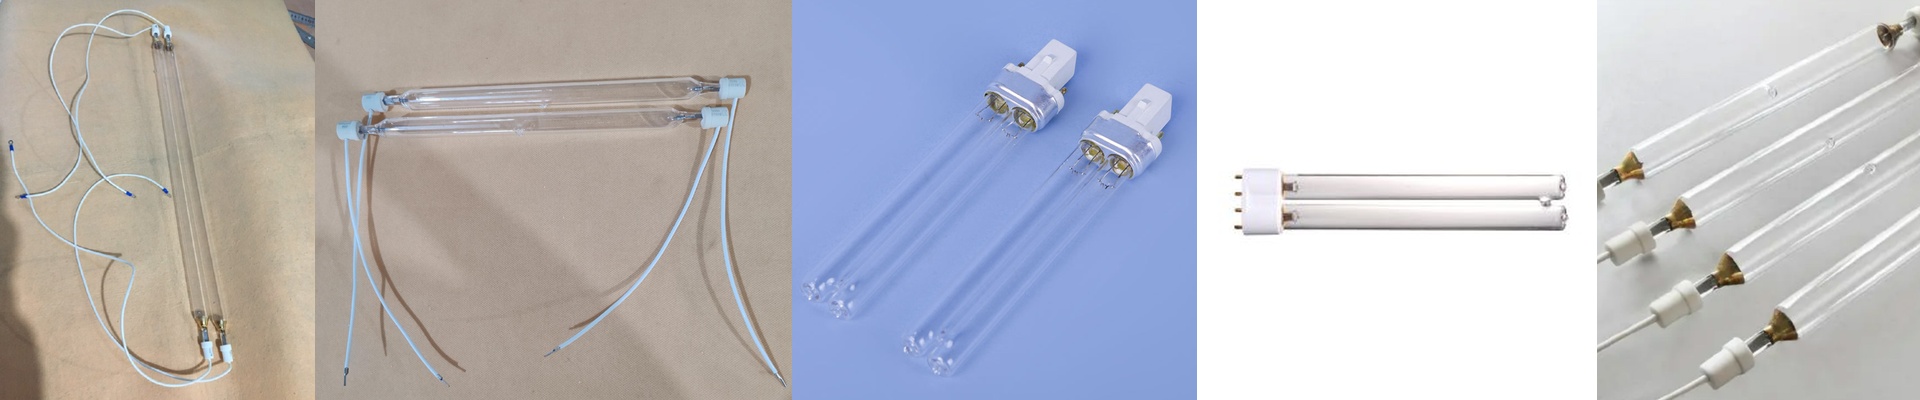
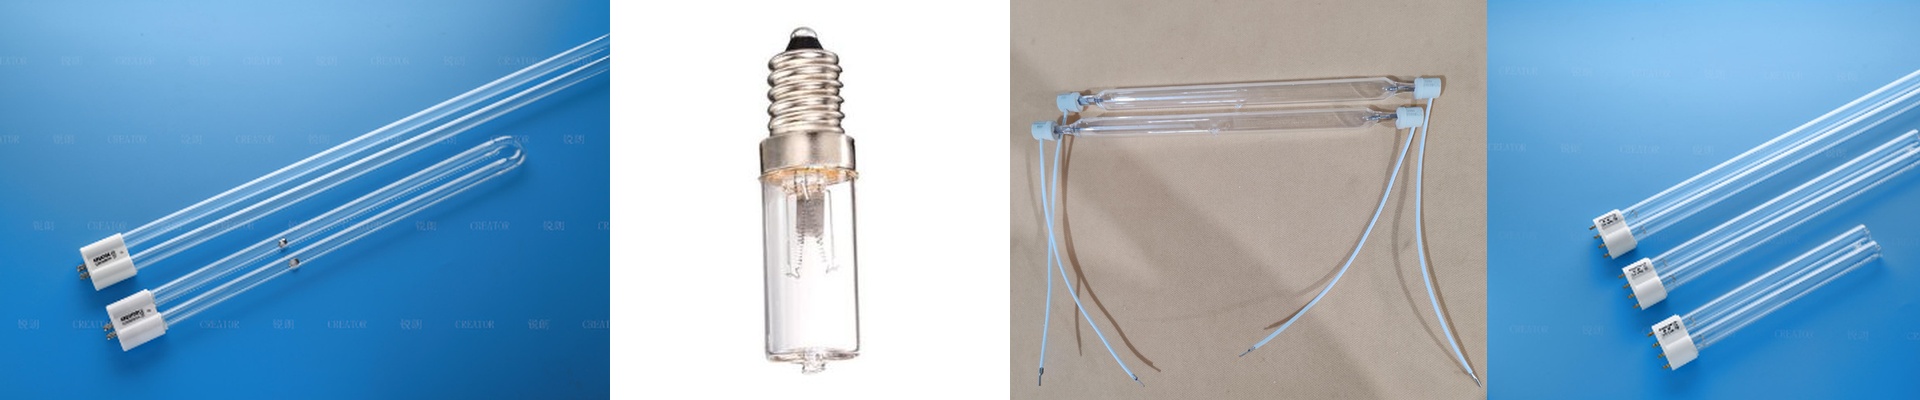
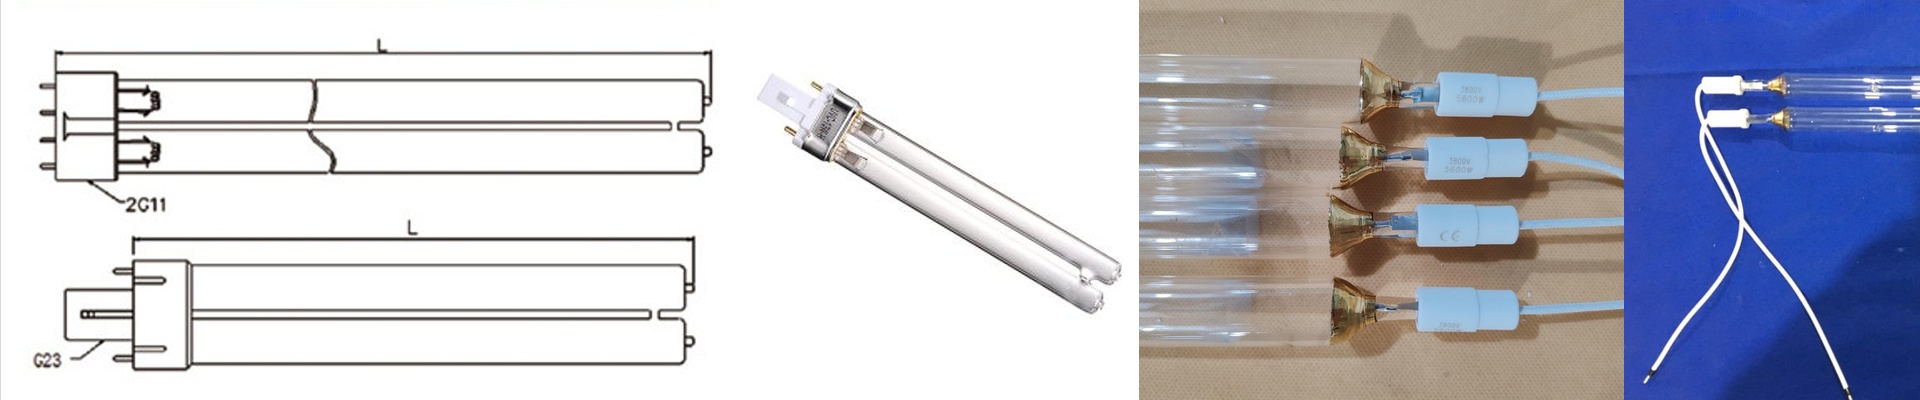
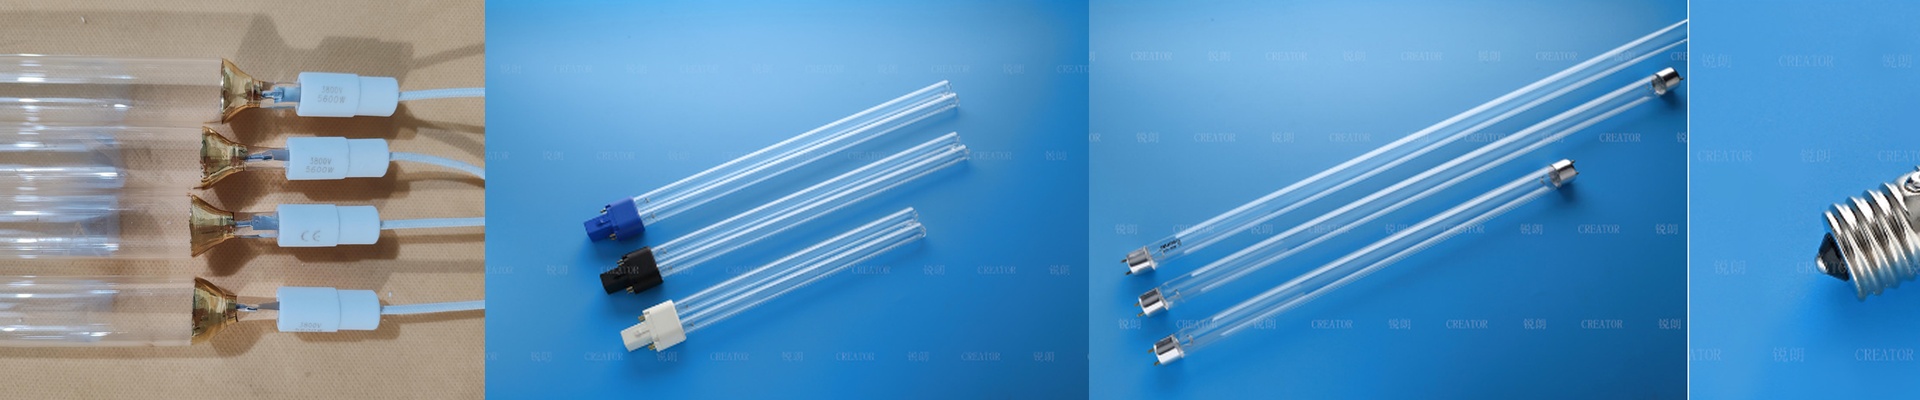
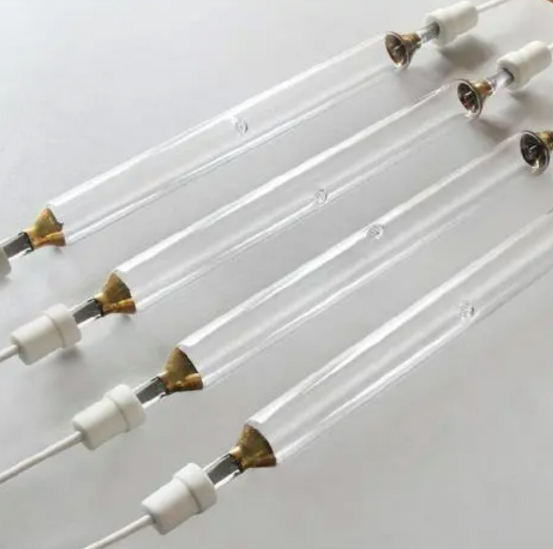
On the press floor, one uncured bead on a contoured part is enough to kill an entire run. Standard UV lamps blast energy in straight lines, and that leaves shadowed zones where ink stays tacky. We didn’t just tweak the lamp—we reshaped the energy field. What matters, technically We spec mercury vapor lamps with a spectral output matched to the ink’s photoinitiator chemistry: 365 nm for deep penetration, 385 nm for a surface-to-bulk balance, and 405 nm for thin-film control. Peak irradiance is tuned so it clears the ink’s critical exposure threshold—measured in mJ/cm²—across the full print envelope. Dichroic reflectors shape the beam profile, collimating and redirecting photons to cut down stray scatter and push more usable energy density onto the substrate. Lamp output is calibrated for spectral stability over 2,000 hours, with less than an 8% drop in irradiance. Why it works in real production Curing geometry has to follow part geometry. We map the substrate contours, then set the lamp array and reflector geometry so dead zones disappear—energy gets redirected into recesses, over edges, and across undercuts. On offset, flexo, screen, and gravure lines, we match lamp power, arc length, and connector interface to the existing curing module. The payoff is consistent cross-linking every pass, with no residual tack—even on complex profiles. Here’s what you need to keep straight Installation comes down to aligning the reflector to the substrate path. A 2-degree misalignment can bring shadows back on steep features. Power density has to scale with line speed and ink film thickness—overpowering gives you surface skinning while the base stays undercured. You’ll typically see a 10–15% reduction in energy draw when you move off broad-beam systems, but plan thermal management for the reflector assembly so spectral stability stays intact.